Manage Your Widgets in WordPress
What are widgets?
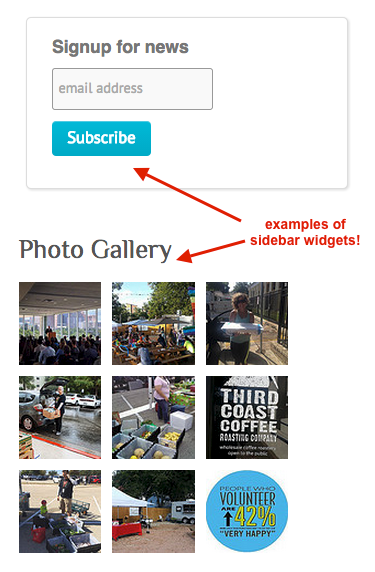
WordPress Widgets add content and features to your sidebars on your WordPress website. Some default widgets come with WordPress, like the ones for post categories, tag clouds, navigation, search, etc. Plugins will often add their own widgets.
Widgets were originally designed to provide a simple and easy-to-use way of giving design and structure control of the WordPress theme to the user, which is now available on properly 'widgetized' WordPress themes to include the header, footer, and elsewhere in the WordPress design and structure.
Widgets require no code experience or expertise! They can be added, removed, and rearranged on the WordPress Administration Widgets panel (click Appearance, then Widgets). The order and placement is set by the WordPress Theme in the functions.php file.
Some WordPress Widgets offer customization and options such as forms to fill out, inclusion/exclusion of data and information, optional images, and other customization features. See how to use the various widgets that come standard in WordPress from WordPress' own documentation set.
Install a Widget
WordPress comes pre-packaged with a variety of widgets. If those are insufficient for your needs you can install new ones by searching the WordPress Plugins Directory. Just click Plugins, from the left-hand side menu, then Add New. Search for a widget that you want or function that you need and install away!
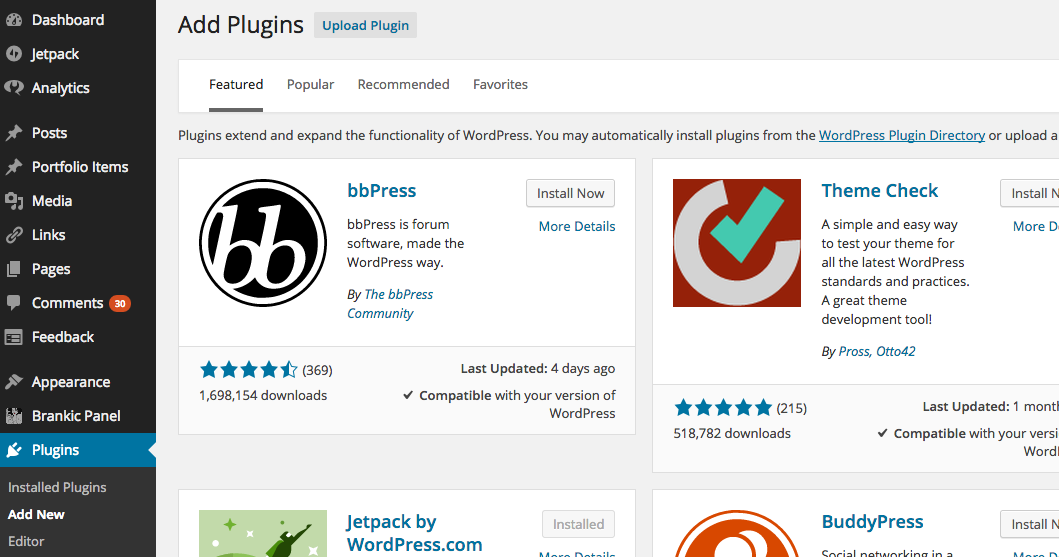
Note: you can also the Featured, Popular, Recommended and Favorite plugins via the links near the top of the page.
Display Your Widgets
Before you can add a Widget you have to check that the theme you're using supports widgets (and widget areas). While widget areas typically occur in sidebars, a theme can place widget areas anywhere on a page. For example, besides the usual sidebar locations, the twenty-fourteen theme has a widget area in the footer of every page. To check if your theme can use them:
-
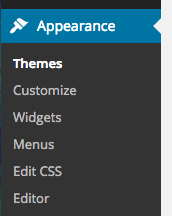
Click Appearance menu from the left-hand sidebar menu.
-
Look for a sub-menu called Widgets; if you see it then click on it and proceed with the following steps.
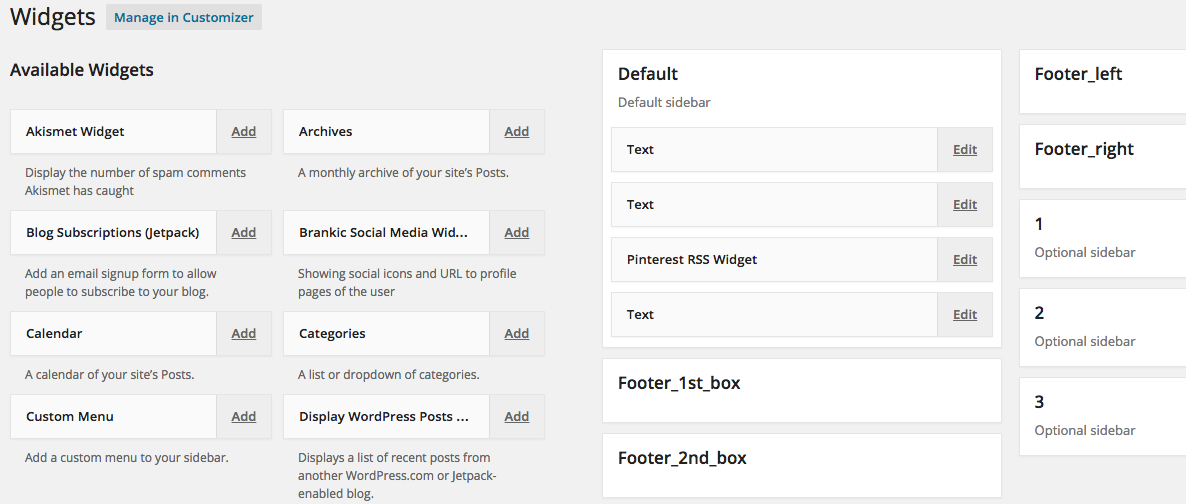
In the Widgets pane you'll see Available Widgets on the left (ones you can use and already have installed), Inactive Widgets below that (ones you may have used in the past but are currently inactive), and your current Sidebars, Footers and other widget areas on the right side of the page. -
Pick a Widget from the Available Widgets area on the left.
-
Either drag it to the widget area (typically a footer or sidebar) where you wish it to appear (if your theme has that functionality).
OR
Click the Add button adjacent to the widget in question, select a destination sidebar if your theme has more than one and click the Save Widget button.
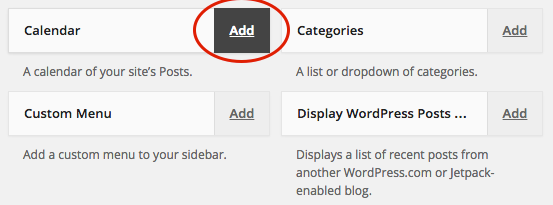
Note: There might be more than one sidebar option, so begin with the first one. Once in place, WordPress automatically updates the theme.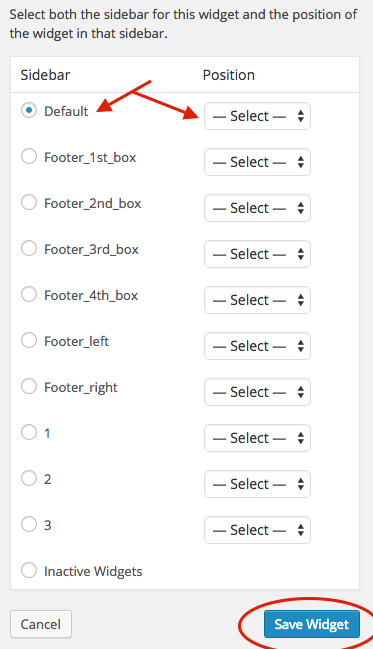
-
Preview your site by hovering over your site name in the top left-hand corner of the page and clicking Visit Site.
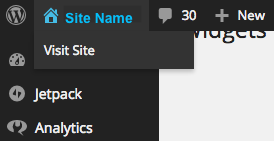
If this is your first time configuring your widgets, you should find that the default sidebar elements are now gone and only the new addition that you made is visible. -
To customize each widget's features, and their position within your widget area, click the Edit link next to each widget's title and edit per your preferences
-
Click the Save Widget button at the bottom to save your changes.
-
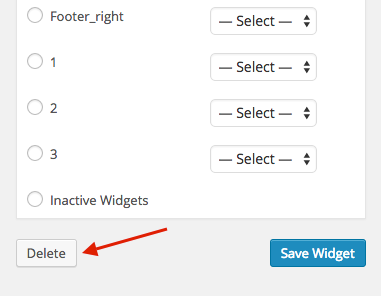
To remove the Widget, click the Remove or Delete button.
If you change WordPress themes, the widgets will return to the left side of the page in the Available Widgets list in the Widgets pane. You may have to re-add them to your widget areas, depending on your theme's ability to preserve other theme's widgets.
Use a Text Widget
The Text Widget is one of the most commonly used WordPress Widgets that comes with every WordPress installation. It allows users to add text, video, images, custom lists, and more to their WordPress sites.
-
Click Appearance menu from the left-hand sidebar menu.
-
Click Widgets.
-
Either drag the text widget to the widget area (typically a footer or sidebar) where you wish it to appear (if your theme has that functionality).
OR
Click the Add button adjacent to the widget in question, select a destination sidebar if your theme has more than one and click the Save Widget button.
Your widget should now show up in your widget area of choice. -
Click the Edit link, adjacent to your new text widget title; this will open the customization pane for that widget.
-
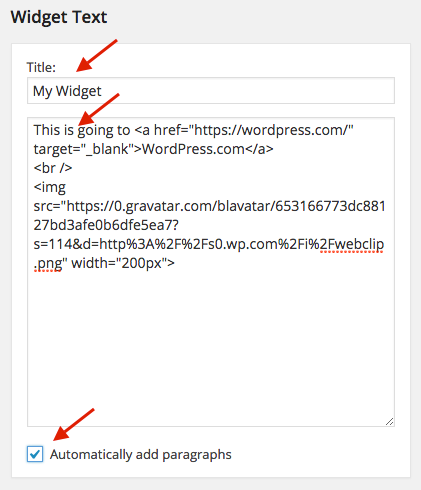
Type a title for your text widget in the Title text field.
Note: this title WILL show up above your widget in your sidebar or other area if you configure it here. -
Add the text or HTML code to the box below, or edit what is currently there.
-
Tick the Automatically Add Paragraphs box to wrap each block of text in an HTML paragraph tag (recommended for text).
-
When you're done making changes click the Save Widget button.
Basic HTML, XHTML, multimedia links and players, embeds, and JavaScript are easy to add to the WordPress Text Widget. Most embed codes from social sharing sites for multimedia will work in a WordPress Text Widget too, but active code and programming languages such as PHP will not work, as the widget will strip out code it cannot display.
Preview your site, as outlined in step 5 in the previous set of instructions above, to see your changes. Go back and edit, if needed and rinse/repeat.
See also Install a WordPress Theme, Create a User in WordPress, Install/Uninstall WordPress Plugins