Create a Landing Page or One-page Site
Also known as a landing page or an under-construction page, a one-page site is the perfect solution for a temporary place holder OR as an efficient single page website. The site could tell visitors that your real site is coming soon, and list any important information, which typically could include contact and order information useful for offline contact (i.e. phone number, mailing address, email). Now, as the web has progressed, there are multitudes of slick single-page websites that achieve all you could want in a multi-pager.
Create Your Page
The easiest option is to use the File Manager option, found in your control panel (cPanel often). While these instructions are for Shared and Reseller accounts, similar steps can be used with any type of hosting. To get started:
-
Click the File Manager icon.
-
In the pop-up that appears, choose to navigate to the Web Root (public_html/www) folder.
-
Click the Go button.
-
From the top toolbar click the New File icon.
-
For the new file name, type "index.html" (without the quotation marks).
-
Click the Create New File button.
-
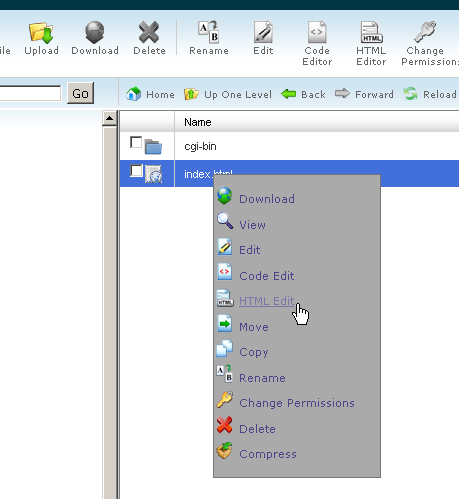
Look for the new file you created in the main list, under the 'Name' header.
-
Right-click the icon for 'index.html' and choose the HTML Edit option from the dropdown.
A page populates that has a WYSIWYG editor, which makes it simple to create a webpage. See in the section below, Add Images to the Temporary Page, to add content and images to that page.
Add Images and Content
To insert images onto your page, you must upload them to the 'public_html' directory first. Let's get started...
-
Log into cPanel, if you aren't already logged in from completing the steps above.
-
Click the File Manager icon.
-
In the pop-up that appears, choose to navigate to the Web Root (public_html/www) folder.
-
Hit the Go button.
-
From the top toolbar click the Upload icon.
-
On the new window, click the Browse button to locate the images on your computer you want to use.
-
Double-click the image(s) and wait for the blue bar to reach 100% Complete, meaning it's been uploaded.
-
Click the 'Back to /home/your-user-name/public_html' link; the image file will now appear along with your index.html file in the list.
-
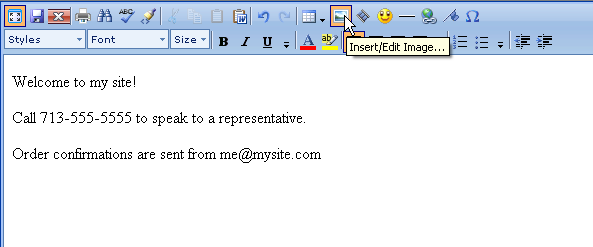
Go back to the WYSIWYG/HTML Edit tool you were in before.
-
Click the Insert Image icon, which looks like a landscape painting.
-
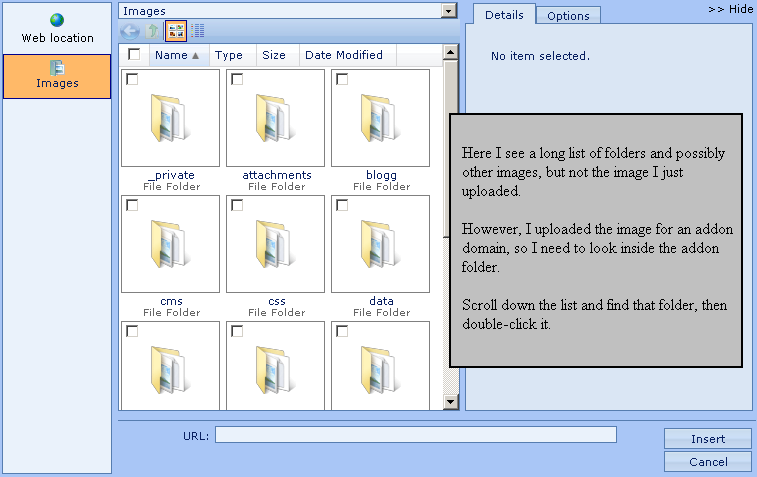
Select your image(s) and click the Insert button.
-
Make any other changes you want to make to your page within this editor.
-
Click the Save icon, second from the left, from the top menu bar.
-
Preview your site at it's URL on the web and go back to cPanel to make changes as you see fit.